Game development on MAUI (Part 5: Main menu and Records)
- May 6, 2025
- 5 min read
Updated: Jun 25, 2025
Hi, everyone! 👋
Last time, we wrapped up the core gameplay by adding a Game Over popup and a functional in-game UI. 🧩 Now that the game mechanics are in place, it’s time to take things a step further and give our project a more polished, app-like feel. 📱
In this part, we’ll build a main menu where users can start a new game or view their best scores. 🏆 We’ll also implement persistent record saving, so players can track their progress over time — a small but powerful motivator to keep coming back. 🔁
Let’s make our MAUI game feel like a real app! 🚀
🧭 Building the Main Menu Navigation
To create a clean and reusable main menu, I’ll start by introducing a simple navigation system. For this, I’ll reuse a control I developed in earlier projects — the NavigationButtonItem. This will allow us to easily manage different menu actions, like starting a new game or viewing records.
First, let’s define a basic model that represents each menu item:
Each navigation item has a display name (Name) and a path (Path) that can be used for navigation routing or view resolution.
Now that we have our NavigationButtonItem model, the next step is to manage the logic behind these buttons. For that, we’ll create a base view model — BaseNavigationViewModel. It will store the list of navigation items and handle user interactions.
Here’s the basic implementation:
Here's what this does:
Items: A list of NavigationButtonItems that will be shown in the UI
GoToCommand: An IAsyncRelayCommand from the CommunityToolkit.Mvvm package, which wraps our navigation logic
GoToPageAsync: Navigates to the specified path using Shell.Current.GoToAsync, if the path is valid
This view model is designed to be reused and extended. Each specific screen can inherit from it and define its own set of navigation items.
Now that we have our view model and navigation items, let’s focus on the visual part. To display the buttons in a clean and scrollable layout, I created a reusable ContentView called NavigationButtonsView.
Here’s the XAML layout:
This view does the following:
Uses a BindableLayout to render a dynamic list of buttons
Binds each button's Text to the Name of the navigation item and its CommandParameter to the Path
Delegates command execution to the Command passed from the view model
This way, the view stays generic and can be reused anywhere in the app to render different sets of navigation actions.
To ensure that our NavigationButtonsView is flexible and can be easily bound to any view model, we provide two bindable properties: ItemsSource, which defines the list of navigation items, and Command, which handles actions.
Here's the code-behind that connects these properties:
This setup allows us to:
Dynamically bind the menu buttons
Execute a shared command (like GoToCommand) when a button is clicked, passing the navigation Path as the parameter
This design lets us easily place the navigation buttons view on any page and control it through the view model without repeating UI logic.
With the base view model ready, we can now define a specific version — the navigation view model — that lists the items shown in the main menu.
This view model inherits from BaseNavigationViewModel and simply populates the Items list with two buttons:
Start Game → navigates to the main game screen
Scores → navigates to a page where users can see their previous results
We use nameof to keep navigation paths safe and refactor-friendly, and constants from a centralized location (Constants.Texts) to keep the code clean and maintainable.
🏠 Creating the Main Menu Page
To tie everything together, we build the main menu page — MainMenuPage. It uses our reusable NavigationButtonsView to display navigation options and presents a simple, polished layout with a background and game title.
What this layout does:
Uses a Grid to layer a background image and the main menu content.
Displays the game title in the center of the screen.
Injects NavigationButtonsView to show buttons defined in the NavigationViewModel.
Thanks to the data-binding, this page is fully driven by the view model and can easily evolve as new features or menu items are added.

🏆 Adding Score Tracking with LiteDB
To make the game more engaging and competitive, we introduce score tracking. This allows players to see their past achievements and strive to beat their previous records.
For simplicity and fast local access, we use LiteDB — a lightweight, embedded NoSQL database that's perfect for small-scale data storage needs in .NET MAUI apps. It requires no server setup and works out-of-the-box with local file-based persistence.
We begin by creating a simple Score class to represent each entry in our database. This model will store the player's score and the date it was achieved.
To keep our data access layer clean and predictable, we define a couple of helper types:
RepositoryStatuses — an enum to indicate the result of a database operation.
RepositoryValue<T> — a wrapper that holds both the result and its status.
This enum helps communicate whether a value was successfully retrieved from the database or not.
To return not just data, but also its status and possible error information, we define a generic container class — RepositoryValue<T>. It helps unify how we handle success, failure, and exceptions across all repository methods.
To follow clean architecture principles and ensure testability and separation of concerns, we start by defining interfaces for both the repository and service layers. This allows us to easily swap implementations or mock them in unit tests.
The ScoreRepository class directly interacts with LiteDB to perform CRUD operations. For this game, we focus on two main operations: retrieving all scores and adding a new one.
The service layer acts as a middleman between the UI and the data layer (repository). It abstracts away database logic and provides a clean API for interacting with scores.
The ScoreViewModel fetches scores from the service layer and exposes them to the view. It ensures data is loaded when the page is navigated to.
The ScorePage will display a list of saved scores and bind to the ScoreViewModel to load and show the data.

We will update the GameOver method to save the player's score to the repository when the game ends. After saving, we can navigate to the ScorePage to display the updated scores.
Now I register rote for ScorePage and change GamePage in Shell on MainMenuPage.

🎮 Conclusion
In this part, we have significantly improved the user experience and functionality of the game. By introducing a main menu with navigation buttons, we gave players the ability to start a new game or view their scores. We also implemented a scoring system, allowing scores to be saved and displayed on a dedicated score page.
To enhance the experience, we used LiteDB for persistent data storage, making it easy to save and retrieve scores efficiently. Additionally, by updating the GameOver method, we ensured that player scores are saved at the end of each game, with seamless navigation to the score page.
By registering routes and handling navigation through Shell, we streamlined the user flow, making transitions between different sections of the game smooth and intuitive.
Overall, these improvements make the game more engaging and polished, giving users a clear path to track their progress and compete with others.
In the next part, we'll wrap up our development, adding final touches and ensuring everything works perfectly for a smooth release.
The full code from this article will be here 📂. 📖 Missed the Previous Parts? Catch Up Here!
If you haven’t read the earlier parts of our Game Development on MAUI journey, check them out:
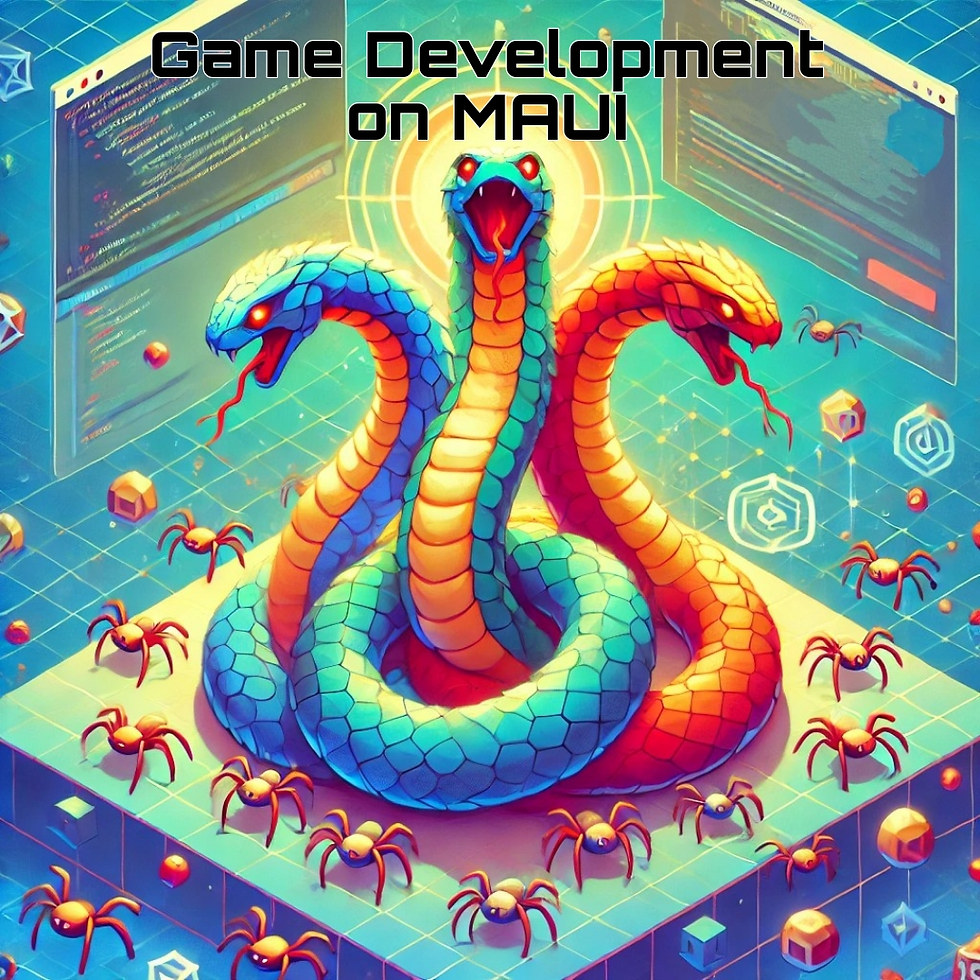
🔹 Part 1: Setting Up Animations – bringing our Hydra 🐉 to life with animations and sprite management.
🔹 Part 2: Movement Mechanics – implementing smooth movement, animation transitions, and adding shadows for depth.
🔹 Part 3: Enemies – adding enemies to the game, creating enemy animations, and implementing interactions between the Hydra and enemies. 🔹 Part 4: UI and Game Over – enhanced the user interface by adding a Game Over screen and a health bar to track the Hydra's remaining strength.


Comments